The exercises in this book have given you the fundamentals for being able to ride each obstacle from an Ease of Handling or Speed Course at a competition. However, most courses will have a minimum of 10 to 12 obstacles (depending on your level) and maneuvering around the obstacles is an additional element to consider when training. Always consult the Rule Book governing the competition you are attending, but here are some tips to consider when riding a full course.
- Always take advantage of the course walk at a competition. Be sure to walk the exact lines you are planning to ride. Always include salutes and be sure to walk through the start and finish markers. Note the placement of cones and numbered markers. Make sure you choose lines that allow you to reach the applicable obstacles with your “using” hand. If you have questions about the course, this is an appropriate opportunity to ask the judge.
- Obstacles are numbered from the approach side. The number will be on the rider’s right as she approaches the obstacle.
- If you need a mounting block to get on your horse, be sure there is one present in the arena. Talk to show management about providing a mounting block in the arena. It is a good idea to travel with a mounting block, just in case management doesn’t have one. It is always best to be prepared.
- When the rider in front of you has completed her course, you are usually allowed to come into the arena and ride around the obstacles prior to the judge ringing the bell. During this time, you are not allowed to show your horse any of the obstacles, nor are you allowed to cross the obstacles. Once the judge blows the whistle, stop your horse while facing her, salute, then begin your course by crossing the starting line. After you ride across the finish line at the end of your course, you are not done until you stop your horse facing the judge, and then salute.
- In competition, you might be penalized for excessive use of touch or voice. See your Rule Book for clarification.
- When you are riding between obstacles, choose the most direct route that shows off your horse the best. It might be beneficial to add a loop or circle between obstacles that are close together in order to have an optimal approach. Choosing a line that doesn’t have a bend change or a lead change on it can help you work in harmony.
- Take your time in Ease of Handling. It might feel like you are standing still for a long time on the obstacles that require immobility, but you want to give your horse a chance to be balanced in a complete halt before moving around on top of him.
- You cannot cross an obstacle prior to completing it unless the judge has explicitly given permission to do so. For example, in Sample Course 1, you might find the smoothest line to get from Obstacle 2 (Switch Cup) to Obstacle 3 (Livestock Pen) is to go through Obstacle 6 (the Bull Line). If you do that, you will likely get eliminated since you haven’t yet completed (or cleared) the Bull Line on the course. However, if your line from Obstacle 2 (Switch Cup) to Obstacle 3 (Livestock Pen) takes you through Obstacle 1 (Slalom), that is okay since you’ve already completed Obstacle 1. Entry and exit cones count as part of the obstacle.
- Be sure you are in the correct gait at the right time. Check your Rule Book on this. There is likely a chart there that shows the correct gait for each obstacle at each level. Brush up on the Rule Book every year, as the sport is continuing to evolve.
- In the Speed Trial, you only need to go through the Livestock Pen once. No need to change direction to go through a second time.
- The Rule Book will also tell you what to do at your level when you knock over or drop part of an obstacle, or if you are unable to complete an obstacle on course.
- Mind your start and finish lines. Be sure to cross the start and finish lines in the correct direction. Do not cross the start or finish line in the middle of the course.
***
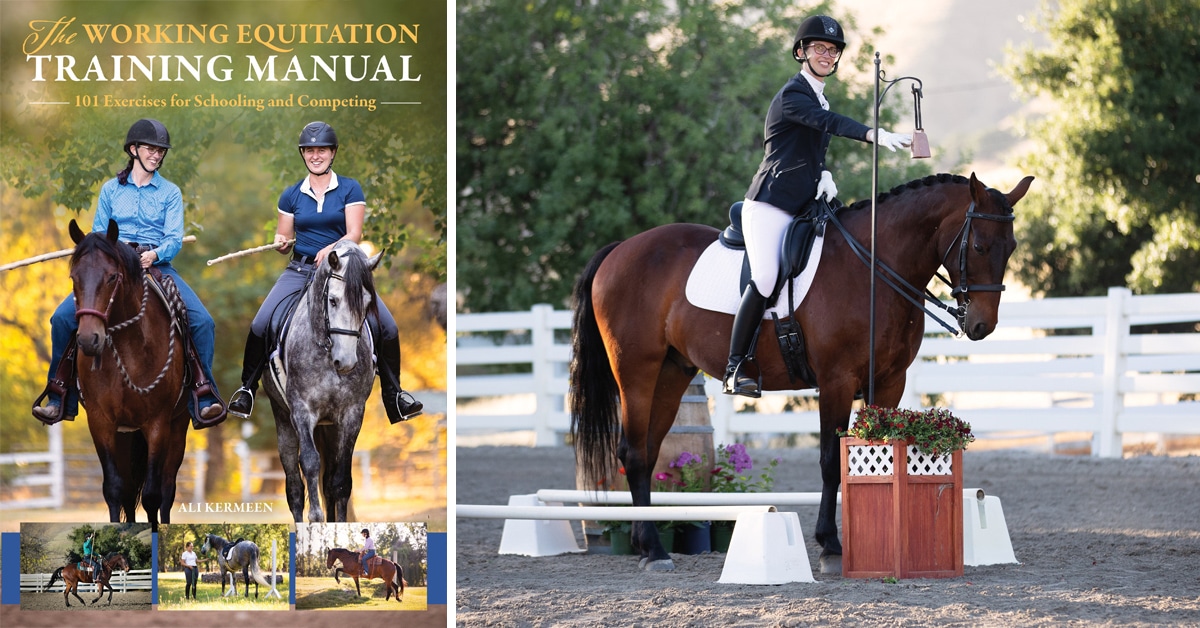
Order your copy of The Working Equitation Training Manual by Ali Kermeen from Trafalgar Square books here.
The Latest
