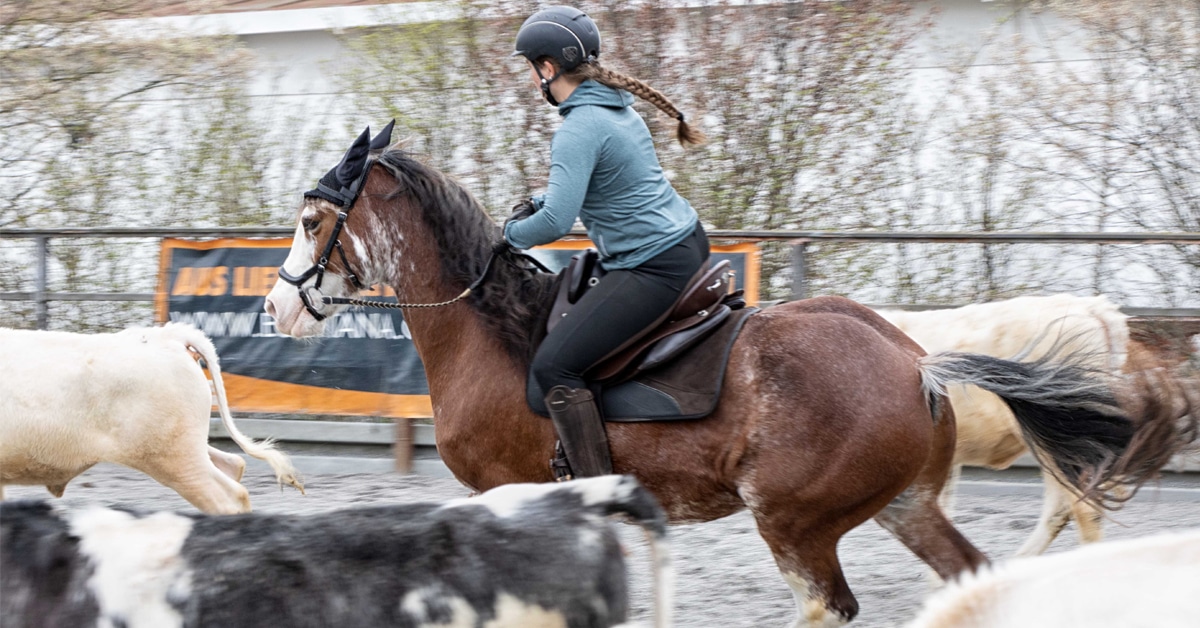
To introduce neck reining, start off riding your horse two-handed, with one rein in each hand. Even though the goal of neck reining is to ride with both reins in one hand, the initial training doesn’t start that way.
The first exercise I would suggest begins with riding a square pattern. At the walk, you’re going to ride straight forward for about 10 metres and then make a 90-degree turn to the left, ride forward another 10 metres, followed by another 90-degree turn to the left, and just keep repeating this. You’re only going to work one direction in the beginning.
To make the turns, you will pull lightly on the inside rein (the left rein, in this case) and then lay the outside rein (the right rein, in this case) against the right side of the horse’s neck at the same time. Once the horse completes the turn, take the pressure off of both reins until you ask your horse to turn again. The exercise should be very easy at this point because your horse will turn from the pull on the left rein. Laying the right rein against his neck introduces the idea of neck reining. Repeat the square several times turning to the left and give your horse little breaks when he’s doing a good job. Once he is doing well, change direction. To turn right, pull lightly on the right rein and lay the left rein against the left side of your horse’s neck.
When first introducing neck reining, I don’t use my legs to help steer the horse. I want him concentrating on learning the neck rein, and I find that if I’m using my legs too, my horse is likely listening to my legs more than the neck rein aid. Once a horse knows the neck rein, I go back to using my legs to help steer.
Once your horse is doing the squares well going in both directions at the walk, repeat the exercise at a trot. Trot many squares both directions over the course of a few training sessions.
Because you have been laying the outside rein against your horse’s neck while walking and trotting the squares, he should be starting to associate the rein against his neck with turning. So, now it’s time to make it the horse’s responsibility to turn when he feels that pressure. Now when you ask for a turn, lay the outside rein again the neck first – if your horse responds and turns, release the pressure to let him know that that’s what you wanted. If he doesn’t turn from the neck rein, give a little pull on the inside rein to help him make the turn and just keep repeating this exercise. Give him the chance to turn from the neck rein, and if he doesn’t, use the inside rein as back up. Repeat this exercise trotting squares to the left and to the right, at the walk and the trot, over the course of several days of training sessions. After a few days, your horse should be starting to neck rein if you have used good timing because he should know that if he doesn’t turn from the neck rein you will correct him by putting light pressure on the inside rein.
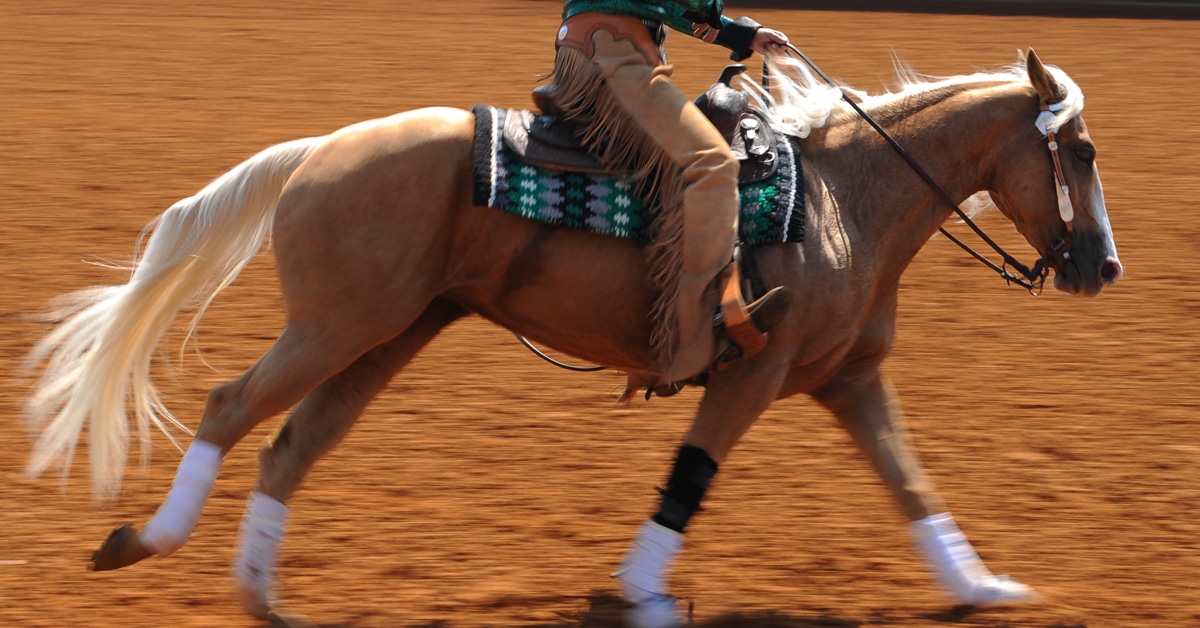
Now put both reins in one hand while doing the squares. If you’re riding a square turning left, hold the reins in your left hand. Have the reins crossed through the centre of your hand – this allows you to use your fingers to play with the reins to help guide your horse if need be. Ask your horse to turn left by moving your left hand to the left, which will lay the right rein against his neck. If he turns, be sure to release the rein pressure as a reward. If he doesn’t turn, use your fingers to put a little bit of pressure on the left rein to help guide him. Once he’s doing well turning left, put both reins in your right hand and repeat the exercise turning right. To turn right, move your hand to the right, which will lay the left rein against your horse’s neck, and if he doesn’t turn, use the fingers on your right hand put a little bit of pressure on the right rein to help him make the turn.
You can now move away from the squares. Ride your horse in a round pen or arena. Ride straight at a wall and right before you get there, ask your horse to turn by using the neck rein. Your horse is going to want to turn anyway to avoid bumping into the wall, so when you ask for a turn using the neck rein he will likely turn willingly. Repeat this exercise; keep riding directly at the fence or arena walls and turn using the neck rein right before you get there. This gives the horse a reason to turn, which will help him learn the lesson much faster.
Once your horse is doing that well, ride parallel to the arena wall or round pen fence staying about two metres away from the fence. Then ask your horse to turn 180 degrees toward the fence and go back the other way using the neck rein. Travel down the fence a little ways then make another about turn toward the fence and go back in the direction you came from. (See diagram below, left.) Keep repeating these turns toward the fence and going the other way – basically this is a series of rollbacks. When you’re making a turn to the right, hold the reins in your right hand and then switch the reins to your left hand to make a turn to the left. Again, the turns into the fence help your horse to see a reason for turning and the fence also tightens your turns.
Once your horse is doing these exercises well, he should have a pretty good start on neck reining. Now hold the reins in your left hand (the hand people typically use when showing), leaving only one finger between the reins, and don’t change hands when you want to change directions anymore. If your horse is neck reining well then congratulations on a job well done. If he’s not neck reining well, go back and repeat some of all of the previous exercises.
The Latest