Shawn Hamilton has been shooting horses all over the world for more than 30 years as CLiX Photography. From the most prestigious horse shows to stallion and passport portraits to exotic trail adventures, she excels in capturing amazing moments in time as well as composing fine art photography. She shares her knowledge and
hard-won experience here.
PLANNING YOUR SHOOT
The Subject
Good photos start with good subjects. Always take time to spruce up the horse and its surroundings before you start shooting. Fixing things such as a mud-stained coat, broken or dirty tack or a rider’s un-tucked shirt takes time to correct later with photo editing software, if you happen to have it. If your subject includes a rider or handler, make sure they are also well turned out. Clothing should be clean and simple. Try to avoid logos, which may distract the viewer from the subject.
Position the horse where he wants to look and use his surroundings to your advantage. Get the ears up with treats, shaking something in a bucket, throwing a towel in the air or a plastic bag on the end of a lunge whip. Do not use the latter with a very skittish horse. You do not want the horse to look afraid, just attentive.
The Background
Choose a simple and clean background. Placing your subject quite a distance in front of the background will avoid interference with your subject. A colourful flowering bush or leaves on a tree can create a pretty backdrop, but if the horse is standing too close to it, the background will overtake the subject, causing the image to be too busy.
Be aware of distractions in the focus area. Take the time to remove buckets, brushes, lunge whips, manure etc. that will take the viewer’s eye away from the subject. Watch for fence lines and trees poking out from the top or side of the subject.
You can blur out the background by placing the horse quite a distance in front of the background and adjusting the aperture on your camera. Use F2 through to F 5.6 to get a blurred background. Using a point and shoot camera you can use portrait mode to blur the background.
The Lighting
There are four basic types of lighting:
Direct light: Direct light means the sun is shining directly on your subject. Place yourself between the sun and your subject for this type of lighting. Watch for shadows being cast on your subject by trees, buildings, yourself etc. and try to avoid them. Even light is the key here.
Filtered light: Filtered light is created when the sun’s rays are filtered by something such as glass, leaves on a tree or clouds. This light comes in handy when the sun is too strong for your subject’s eyes to open fully or creates too much contrast. Place your subject in even filtered light to avoid shadows or lighting differences.
Backlighting: Backlighting is created when your subject is between you and the sun. It can cause very pleasing rim light, especially on a horse with a light coloured mane and tail. This type of lighting requires a bit more knowledge of your camera settings, where exposure compensation comes into play to eliminate a subject being too dark. On newer camera phones you can touch the screen where your subject is and move your finger up or down to adjust the light on your subject.
Bounced light: Bounced light occurs when you use something like a reflector or a wall or window to reflect the light onto your subject. This can create wonderfully warm images, aids in avoiding shadows, squinting eyes and can help create even light. You can use an actual reflector or the side of an aluminum barn, basically anything that reflects light.
Composition
The word composition is used to describe the placement of relative objects and elements in a work of art. This placement is what can make a photograph stand out. To help you understand how to compose an image you can consider these three goals:
- draw attention to the main subject
- lead the viewer’s eye into the image and keep it there
- eliminate distracting parts of the scene, which can take the viewer’s eye away from the subject
These goals can be obtained by following a few simple steps.
Include a focal point where the viewer can place their gaze and rest there. In a portrait shot, this is usually the subject’s eye(s). In a conformation shot or free running/action shot, it will be the horse’s body. You can use leading lines to bring the viewer to your subject; diagonal lines are often more appealing. For instance, a diagonal fence line can be used to lead the viewer into the image and directly to the horse. Be careful to avoid lines that may carry the viewer out of the photo.
Use the rule of thirds. This rule applies to the fact that if you divide an image in three parts, both horizontally and vertically, the eye naturally goes to the intersections of those lines. You will want to have something of interest in one or two of those intersections.
When shooting moving objects, leave room for the subject to get to where they are going. For example, if the subject is moving to the right, leave some empty space to the right.
Use naturally occurring elements in the image to frame your subject such as trees, fences, windows, doorways and corridors.
Other elements that can draw the viewer into your image include patterns and symmetry.
All of these elements can be used to compose your image to create a photo that will capture and keep the viewer’s attention. Your goal is to stop the viewer in their tracks, so they take a moment to look at the image, appreciate the subject matter and relate to the mood before turning the page and/or swiping or scrolling to the next image.
Rules are meant to be broken, however, it is good practice to understand them before breaking them. Create your own style and think outside the box to create something different.
TYPES OF PHOTOS
The Conformation Shot
The conformation shot is the most challenging type to pull off, as it requires the utmost patience of the horse, handler and photographer. If you are taking a conformation shot as part of your photo shoot, it is wise to start there, while everyone has energy and the horse is not bored with the situation. A few common mistakes people make when shooting a conformation shot are:
The hoof-less horse: Taking a conformation shot of a horse standing in long grass results in a hoof-less horse image. Long grass will hide the hooves. Find a flat area on the edge of a driveway where the hooves can be completely visible. If you have to use a grassy area, cut the grass very short with a lawn mower beforehand.
The three-legged horse: When standing a horse for a conformation shot, make sure you can see all four legs. If one leg is behind the other, the horse will appear to only have three legs. This takes quite a bit of patience and communication between the photographer and the handler, but the time you take will make the shot worthwhile. Patience is the key here.
The giraffe: Some horses tend to lift their heads quite high, and photographing a horse in this position creates a giraffe-like look. Have the handler or another helper use some treats or grass to prompt the horse to put his head down and stretch out his neck. Let the horse look where he wants. If he wants to look back at the barn, position him so he can look there while you get the shot you’re after keeping in mind where the light is. You will have to consider where you want the light, whether you want the mane side or not and where the horse wants to look when choosing your subject’s positioning.
The shadowed horse: Watch for shadows of the horse’s head being cast on his neck and body, also avoid casting your own shadows on the horse as well. Attempt to have all of the horse in even light.
The resized horse: If you shoot from a height well above your subject, it will result in the horse looking smaller than normal. Place yourself at the same level as the shoulder. If you would like the horse to look taller, you can get lower or position the horse on higher ground.
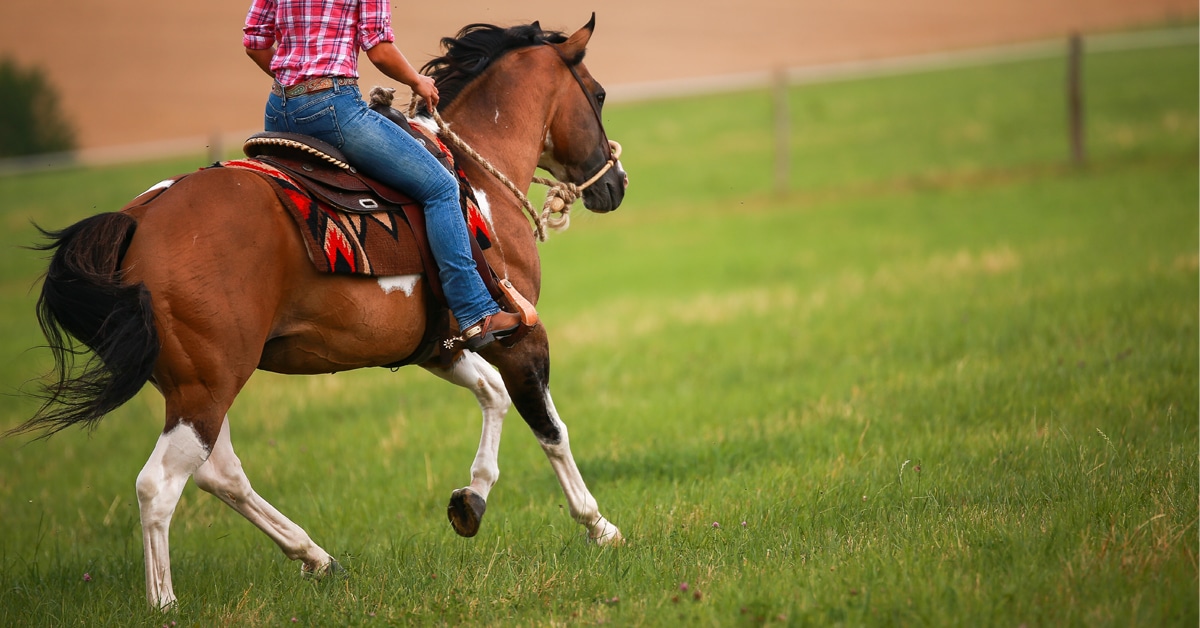
Portraits
There are many things to consider when shooting a portrait, but the key element is lighting. Keeping it simple, start with direct lighting.
Focus on the eyes. The eyes are your most important feature when shooting portraits. Move around your subject until you can get the angle that pleases you. Try to capture both eyes if possible, with at least one capturing the reflection of the sun. If you can find the angle that allows you to capture the light’s reflection in your subject’s eye, you have found the sweet spot. This will give your image that added life that will separate it from the everyday photo.
If your camera is a point and shoot, set the mode to portrait. If you have a telephoto lens of any sort, 85mm is the perfect lens setting for a portrait. Wide-angle lenses can distort the face and/or body.
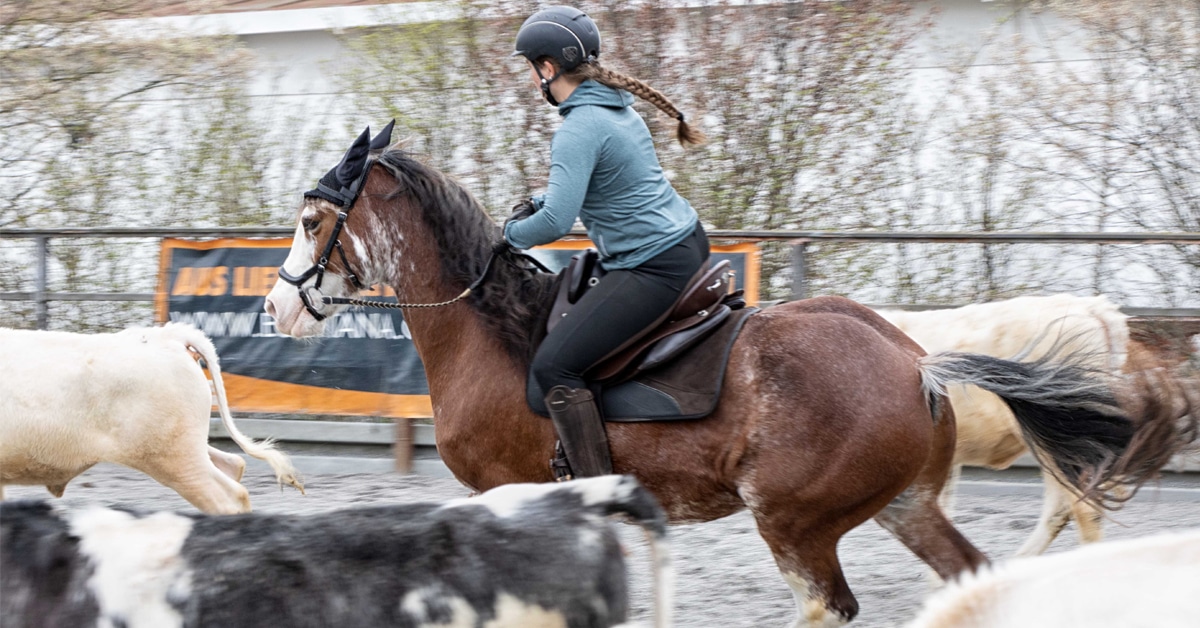
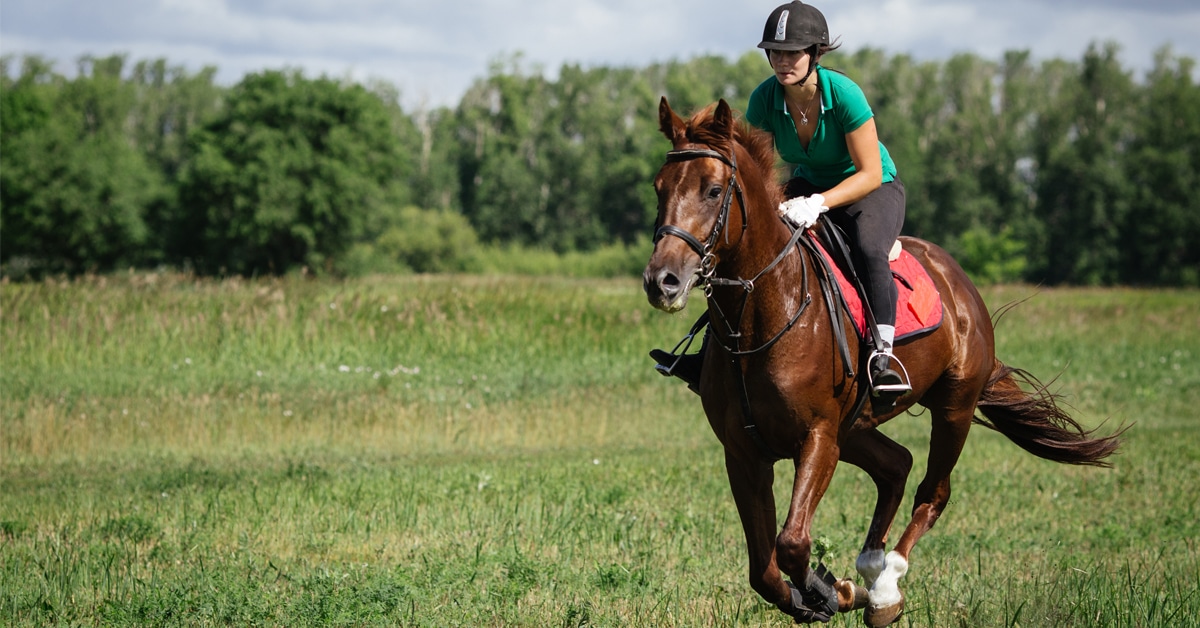
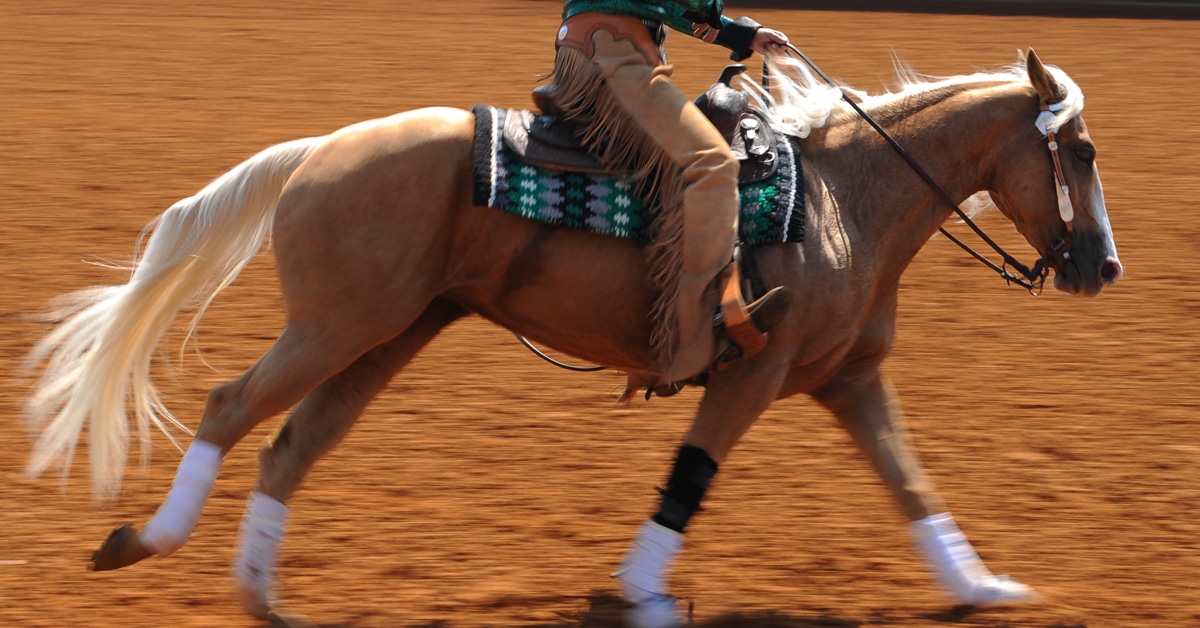
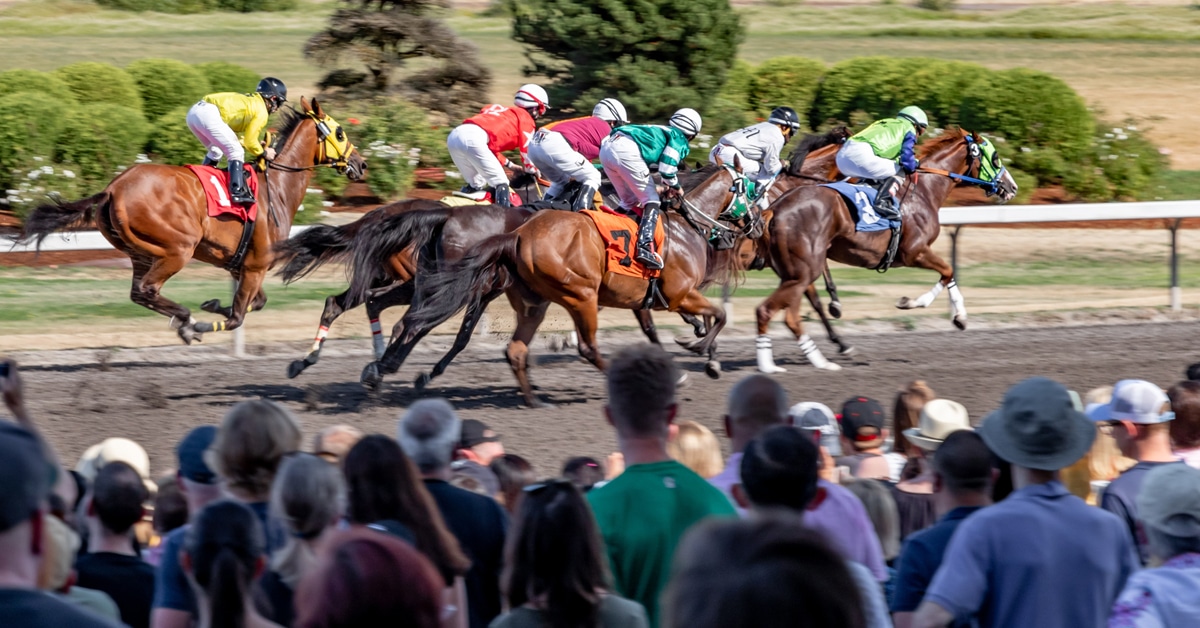
Action Shots
Shooting a horse that is free running in a field, cantering down a lane with a rider or jumping a fence all require a fast shutter speed, which is the time that the shutter is open, allowing light to the sensor. The fast shutter speed allows you to stop the motion. This is basically what your camera does when you set it to sports mode.
Timing is of the utmost importance here. The best images of a horse in motion occur when one of the horse’s front legs is up. For a free running shot, have someone walk the horse to the back of the paddock, then take their halter off to let them go. The horse will most likely run back to the gate, so you can position yourself accordingly. Follow the horse with your camera, anticipating the motion and click the shutter just before one of the front legs are up. This takes practice. Be sure to look at your images to see if your timing is on.
FINAL WORDS
Practice makes perfect. Take the time to look at your images in your camera as you are shooting and do not get discouraged. Remember the first time you tried to post on the right diagonal, get your horse to leave the ground at the right time to leap over a fence or stay put when teaching him to ground tie. You have to get it wrong a few times before getting it right.
Be open to new concepts and allow the shoot to take a life of its own. Sometimes the perfect image will present itself; you just have to be ready for it.
If you are passionate about equestrian photography, I recommend you take a photo workshop. They are wonderful ways to learn from photographers and fellow students.
Happy clicking!
The Latest