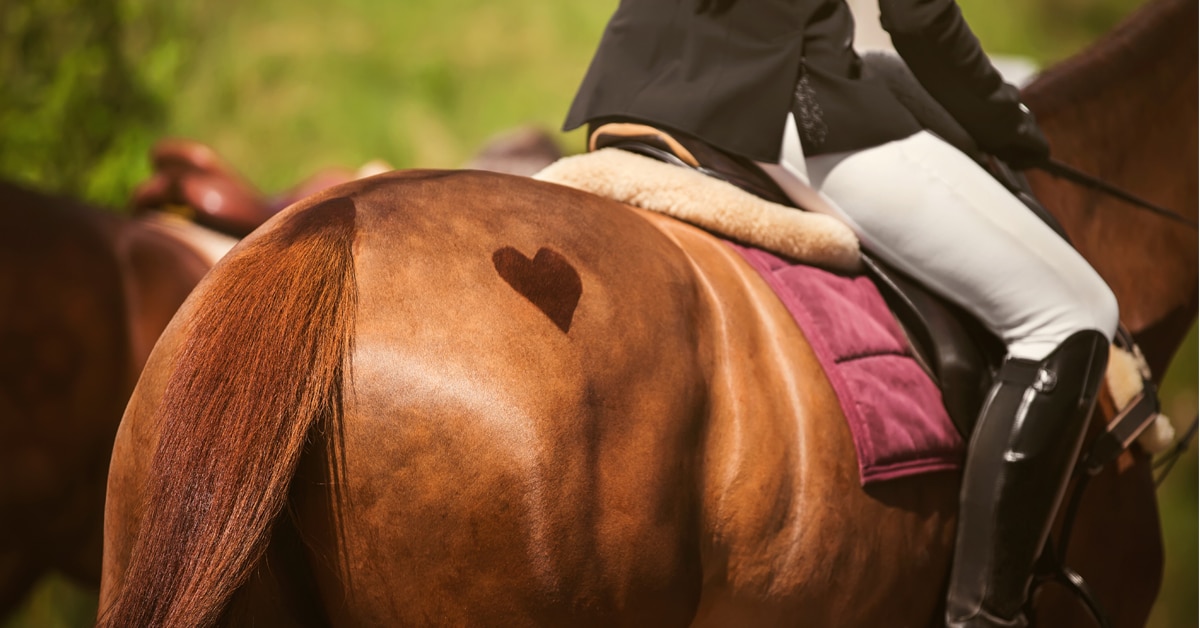
Like many other animal species, it is in our nature to use touch to soothe, relieve, reassure and communicate. It’s perhaps no surprise that massage is one of the oldest therapies, dating back to ancient times.
Today, Registered Equine Massage Therapists (REMTs), receive extensive training and education in massage, as well as equine anatomy, physiology and biomechanics in order to perform their jobs. But in much the same way that you or I can benefit from a good shoulder rub from a friend or family member, there are certainly also massage techniques that anyone can learn to use for the benefit of their horse.
The Language of Touch
Massage is much more than simply applying certain manoeuvres and techniques in a specified sequence. In the same way that riding involves constant back-and-forth communication between horse and rider, massage too entails an ongoing dialogue mediated through the skilled use of touch. In this sense, the ability to use massage effectively begins with developing your own sensitivity and awareness.
Fortunately, horses are great teachers because they are so honest. Throughout a massage you need to be attentive both to what you are feeling under your hand, and to the body language and behaviour of your horse. Signs of relaxation and enjoyment include licking, chewing, droopy eyelids, lowering the head, sighing, yawning and self-stretching.
Be sensitive to signs of pain or displeasure – tension, tail swishing, skin twitching, ear pinning or at the extreme, biting or kicking. These are not things we want to provoke through massage. It is also important to work in such a way that you are not eliciting, or trying to push through, a bracing response in the muscles. People often think that to work deeply or effectively they must use greater force, especially with an animal the size of a horse. But when force is met with force the muscle will tense in response. Rather, move in with a gentle touch, waiting for the tissues to soften and relax before going deeper. With practice, you will be able to detect the slightest increase in tension and adjust your pressure accordingly. With this, you begin to gain the horse’s trust, even in areas where they may be experiencing soreness.
Getting Set Up
Work in a space where your horse will be comfortable and that provides you with adequate room to get out of the way if necessary. Crossties, your horse’s stall or paddock are all typically fine. Whether or not you tie your horse depends on your level of comfort with him, but if you do, be sure to use a quick-release knot or tie, and give him enough slack so he can have some freedom of neck movement. Because we’ll be working on the horse’s back, a lightweight step stool will help you work at a better angle, saving your neck and shoulders. (Note that you may need to take some time to get your horse accustomed to the stool first).
The Massage Sequence
Before you begin, take a few moments to empty your thoughts and centre yourself. Letting go of excess tension, both mental and physical, will improve your sense of feel immensely. Your horse will appreciate the difference!
Step 1: The 4 Ts
I like to start each session by feeling over the horse’s body, checking for what we call the ‘4 Ts’ – differences in temperature, texture, tenderness and tension. This gives you a chance to identify any areas of sensitivity or concern, as well as differences from side-to-side.
Slowly work your way along the body, keeping your hands relaxed with a slight bend in the knuckles, allowing them to fit with the contours of your horse’s body. Over muscled areas you can add a slight, gentle squeeze as you detect the nature of the tissues underneath and observe your horse’s response. Imagine you have paint on your hands and want to cover the whole body, or area, you will be working on. Use caution around sensitive areas, or where your horse might not be used to being touched.
Complete your assessment of the 4 Ts on both sides of the body before moving on. For the remainder of the massage, follow steps two through seven on one side of the body, then repeat on the other side.
Step 2: Rhythmic rocking over longissimus
With your stool placed a foot or two away from your horse, at the centre of his back, begin with your hands just below the withers behind the shoulder blade, about shoulder distance apart. By slowly rocking your torso from side-to-side, allow your body weight to alternately shift from one arm to the other as you walk your hands along the length of the back, stopping just above the point of hip (near where the hair comes to a swirl). Your fingertips should sit just below the boney prominences of the spine, with just the palms of your hands transmitting the pressure to the muscle below. You can work your way up and down the back two or three times, keeping the rhythm even and steady. A slow rhythm is calming to the nervous system and can lull the horse into a state of deep relaxation.
Always start out using a light pressure, increasing it slowly and gradually to the extent that your horse accepts and enjoys it. It’s very important that you are not eliciting a bracing response in the muscles of your horse’s back. This would be the opposite of what we are trying to achieve. Your horse’s behavioural cues can also be invaluable here. When the tissues feel compliant and yielding, and the horse is showing signs of relaxation, you are on the right track. For horses that have atrophied back muscles, which may be a consequence of a poorly fitting saddle, lameness issues, poor body use, loss of fitness, or old age, use only the lightest pressure, or skip this step altogether.
Step 3: Light effleurage
Effleurage (a light stroking motion) will be your go-to movement for weaving the segments of your massage together for a fluid and flowing session. We’ll just use light effleurage, achieved by running your hands in a slow, sweeping motion over a given area with gentle pressure. Follow the direction of the hair-coat, using a smooth and rhythmic gliding motion. You can use your hands alternately, gliding with one as the other lifts off the body and reaches ahead. Follow each step in the sequence with some effleurage before moving into the next technique.
Step 4: Thumb-tip kneading
In this step, we will use the thumbs in a kneading action working in a line along the lower edge of the longissimus muscle – the large, long muscle that runs along either side of the back (part a), and off of the point of hip (part b).
To find your starting point, place your hand behind the shoulder blade and withers with your fingertips just about reaching the boney prominences of the spine. Where the bottom of the heel of your palm sits is where you will want to work with your thumbs. With your hands side-by-side, you can use your thumbs alternately, one then the other, slowly making your way along the length of the back, with the direction of your pressure going upwards with each stroke. Try to maintain a slow and steady rhythm – about one stroke every two seconds, with a relatively light pressure. You may want to intersperse some light effleurage strokes as you go, or save them for the end.
As you work, you may feel a thinner band of muscle running along the length of the back in this area just below the longissiumus. This is the iliocostalis muscle, which can work overtime when the other back muscles aren’t doing their job properly. If you find it to be tight or prominent on your horse, you may want to include some gentle thumb-tip kneading over it as well.
You can also include some thumb-tip kneading off the edge of the point of hip with your strokes branching out like sunrays towards the buttocks and croup. This boney prominence of the pelvis is an important site of attachment for a number of muscles of the hindquarters. While you can allow your thumbs to depress into the muscle a bit, but this should not be deep or forceful work for this type of massage.
Step 5: Rhythmic compressions over the gluteals and biceps femoris
For this step, we will be using the palms of the hands to work over two lines – from the point of the hip to the hip joint (line 1), and from the hip joint down the thigh (line 2).
With a wide stance to give you a good base of support, place your hands along line 1, starting just behind the point of hip, and working over to, but not over top, the hip joint. Using your body weight rather than muscular effort, allow the heels of your hands to sink into the large muscle mass in this area, alternating the pressure from one hand to the other as you slowly work your way back and forth along the line (roughly three to four hand-widths for your average horse). Think of the sort of relaxed and rhythmic kneading that cats love to do. Find your groove and remember to feel and wait for the muscle to relax and let you in. If you encounter bracing, ease off your pressure and slow down your rhythm.
For the second line, facing slightly towards your horses head, place your near hand on the hip joint. It’s covered thickly with muscles, but you will feel it as a harder area about a few hand widths in from the point of the buttocks. With your hand on the hip joint, held stationary, use the heel and palm of your other hand to apply slow rhythmic compressions along the second line, which runs over the biceps femoris muscle (part of the hamstrings group). Repeat one or two times and finish with some light effleurage.
Step 6: Muscle squeezing
Moving onto the hamstring muscles, that run along the back of the leg (semimembranosis and semitendinosis), reach under the base of the tail with the fingers of your near hand and grasp the muscle mass between fingers and thumb. Apply a squeezing pressure to the muscles, releasing and repeating as you slowly work your way down and then back up the length of the buttocks. At about the midway point (below the point of buttock), you can pause and add a gentle shaking motion to jiggle the muscle from side-to-side.
This manoeuvre works best when the hoof of the leg you are working on is either square with, or behind, the other hoof. Stepping underneath the body causes the hamstring muscles to become more taut.
Step 7: Soothing strokes
Gentle, soothing strokes have a calming effect on the nervous system and are a nice, relaxing way to finish off a session. With your fingers spread, run your hands over your horse’s body, using a soft touch. You can use the same sort of slow and sweeping, hand-over-hand rhythm as with your effleurage.
Massage offers a wonderful opportunity to become more in tune with your horse, while helping him to feel good in his body. You might be surprised just how much he appreciates simply being the recipient of gentle, thoughtful touch and your undivided attention. Be patient, be present, and above all listen to your horse. He will let you know when you are getting it right.
The Latest